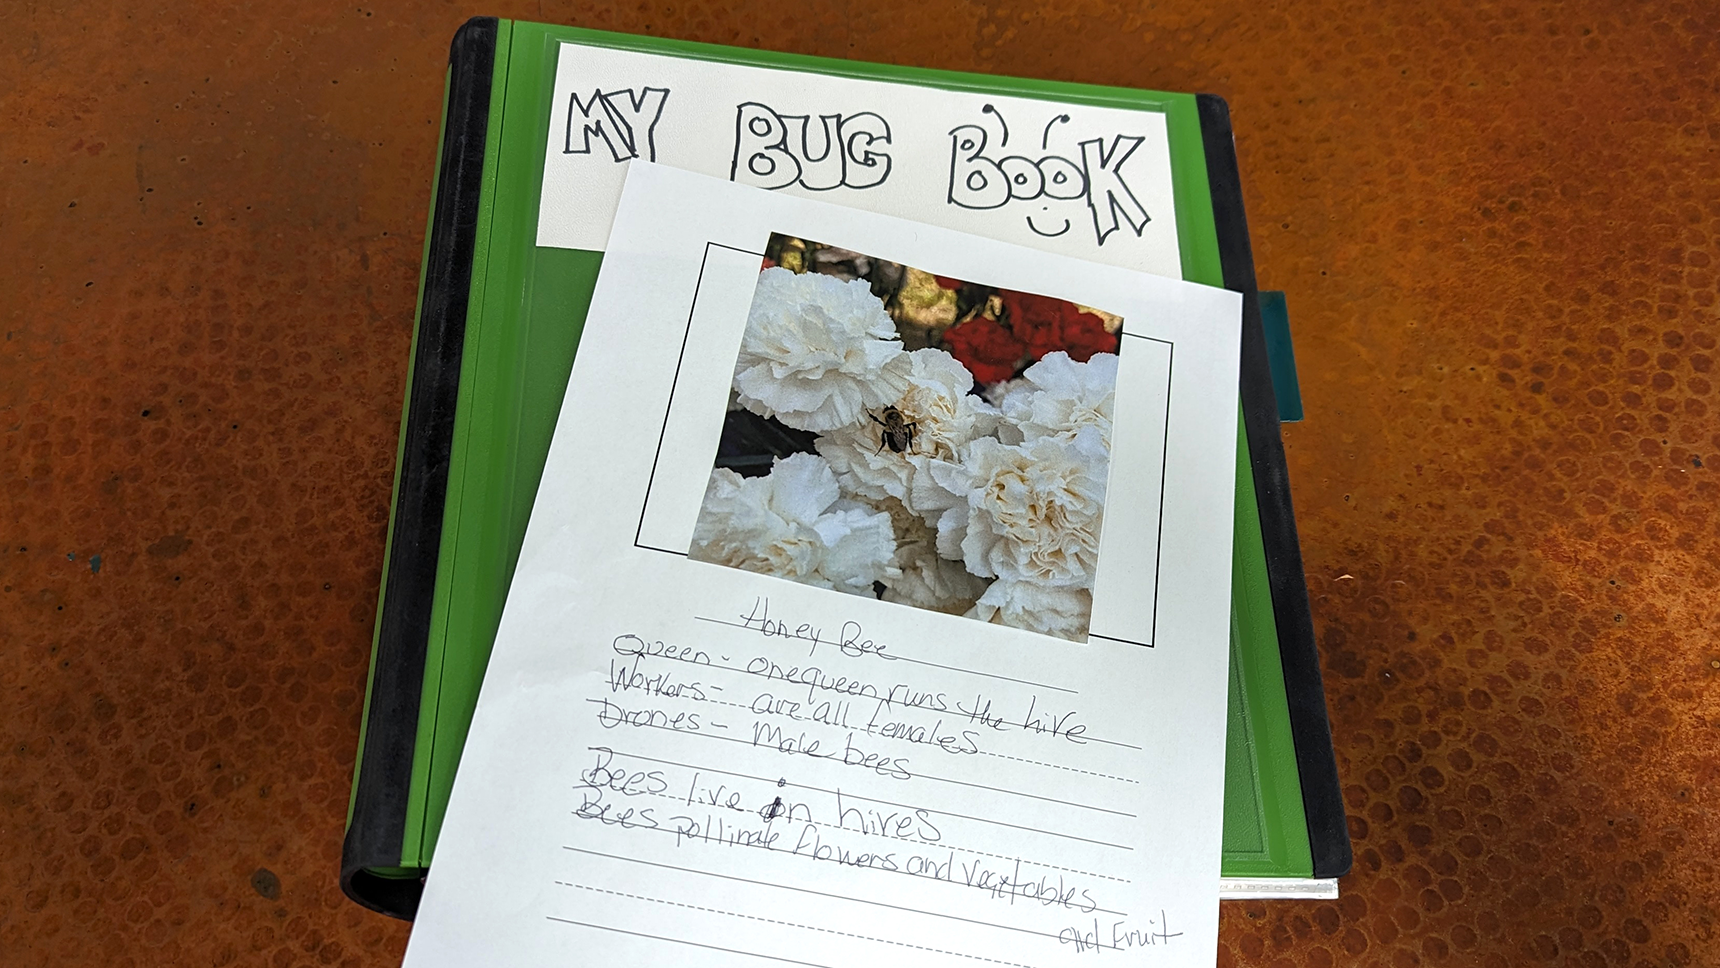
Make a special book to store all the information you know about insects! You can add to it as you continue to learn more and more about the many insects you’ll find. These instructions include how to make a photography/drawing collection, rather than the traditional pinned kind.
What You Need:
- three-ring binder
- three-hole paper punch
- plain white paper
- a pen
- crayons or colored pencils
- journal template page or a ruler
What You Do:
1. Decorate the outside of your book with pictures cut from magazines, stickers, or your own drawings (draw them on paper, then cut out and glue them to the binder).
2. Each page of the book will be for one insect and should include space to draw or glue a picture, several lines to write things you know about the creature, and some lines to add things you find out later, too.
3. Ask an adult to help you punch holes on the left side of each page and put the pages into the binder to make a book. You can always add more pages later if you want to.
4. Start the first page with your favorite bug or a bug you found in your back yard. Draw a picture on the page or take a picture of the bug you found and paste it on the page. Write its name below, and then write anything you know about it, like where it lives (in a tree? in the grass?) and what it eats. You can also look in an identification guide if you want to find out more about a particular bug.
5. Whenever you learn something new about a bug in your book, add it to the page about that bug. If you need more space, you can add another sheet of plain paper behind the first one. If you have more than one page for the same creature, it helps to write the name of the bug in the top right-hand corner of the page so that you can tell which pages go together. When you learn about or find a new bug that isn’t in your book yet, make a new page for it.


